Showing posts with label banners. Show all posts

Wednesday, February 11, 2015

Free Standing Pop Up Card for Not2Shabby!

Hello there, crafty friends! Today I want to share with you another Design Team project for Not2Shabby. I made a free standing pop up card for my mom, for Valentine's Day.


Isn't it cute? I found the tutorial for the card on Splitcoaststampers but I modified the dimensions to fit the sweet image. 


The image stamp is another cutie by C.C. Designs, called Rose. I colored her with my Copic markers and added Stickles to the heart on her headband and dress.
The oval die cuts are by Spellbinders and I rimmed the outside oval with small rhinestones.


You can see here how it stands up on it's own.


Here, you can see how it folds up for easy mailing.

 This card was very easy to put together and I really love the way it turned out. I hope you like it too!

Head on over to Not2Shabby  for the best deals on stamps and other crafty goodies. Dont' forget to use discount code "LIZRUSSELL" for 10% off your purchase.

Thank you so much for stopping by and I hope to see you all real soon!

Sunday, February 8, 2015

Valentine's Day Mini Wreath for Not2Shabby

Hi guys! Today I want to share a really cute and simple mini wreath I made for Valentine's Day. It's my first Design Team project for Not2Shabby shop.


I found the mini wreath at the dollar store and wrapped a wire heart garland all around the wreath. 


The sweet image stamp is C.C. Designs Swiss Pixie Cupid. I colored her with Copic markers and added Stickles to her wings, the sole of her shoe and the little hearts. I love the added sparkle from the Stickles.


The banner is actually sticker pennants backed by cardstock and hung with bakers twine. I added cute glittered clothespins at both ends of the banner.


I found the red, felt roses at my local crafts store and I made the white ones myself. Then I added glittered berries from and old Christmas pick for more sparkle.

I think my mini wreath turned out super cute! I especially love the sweet little girl and all the sparkle.

Go check out Not2Shabby shop and use coupon code LIZRUSSELL for 10% off your purchase.

Thank you so much for stopping by!

Wednesday, July 30, 2014

Fun Birthday Card

Hey guys! Today I've got a short post for you. Just wanted to share the card I made for my sister's recent birthday.


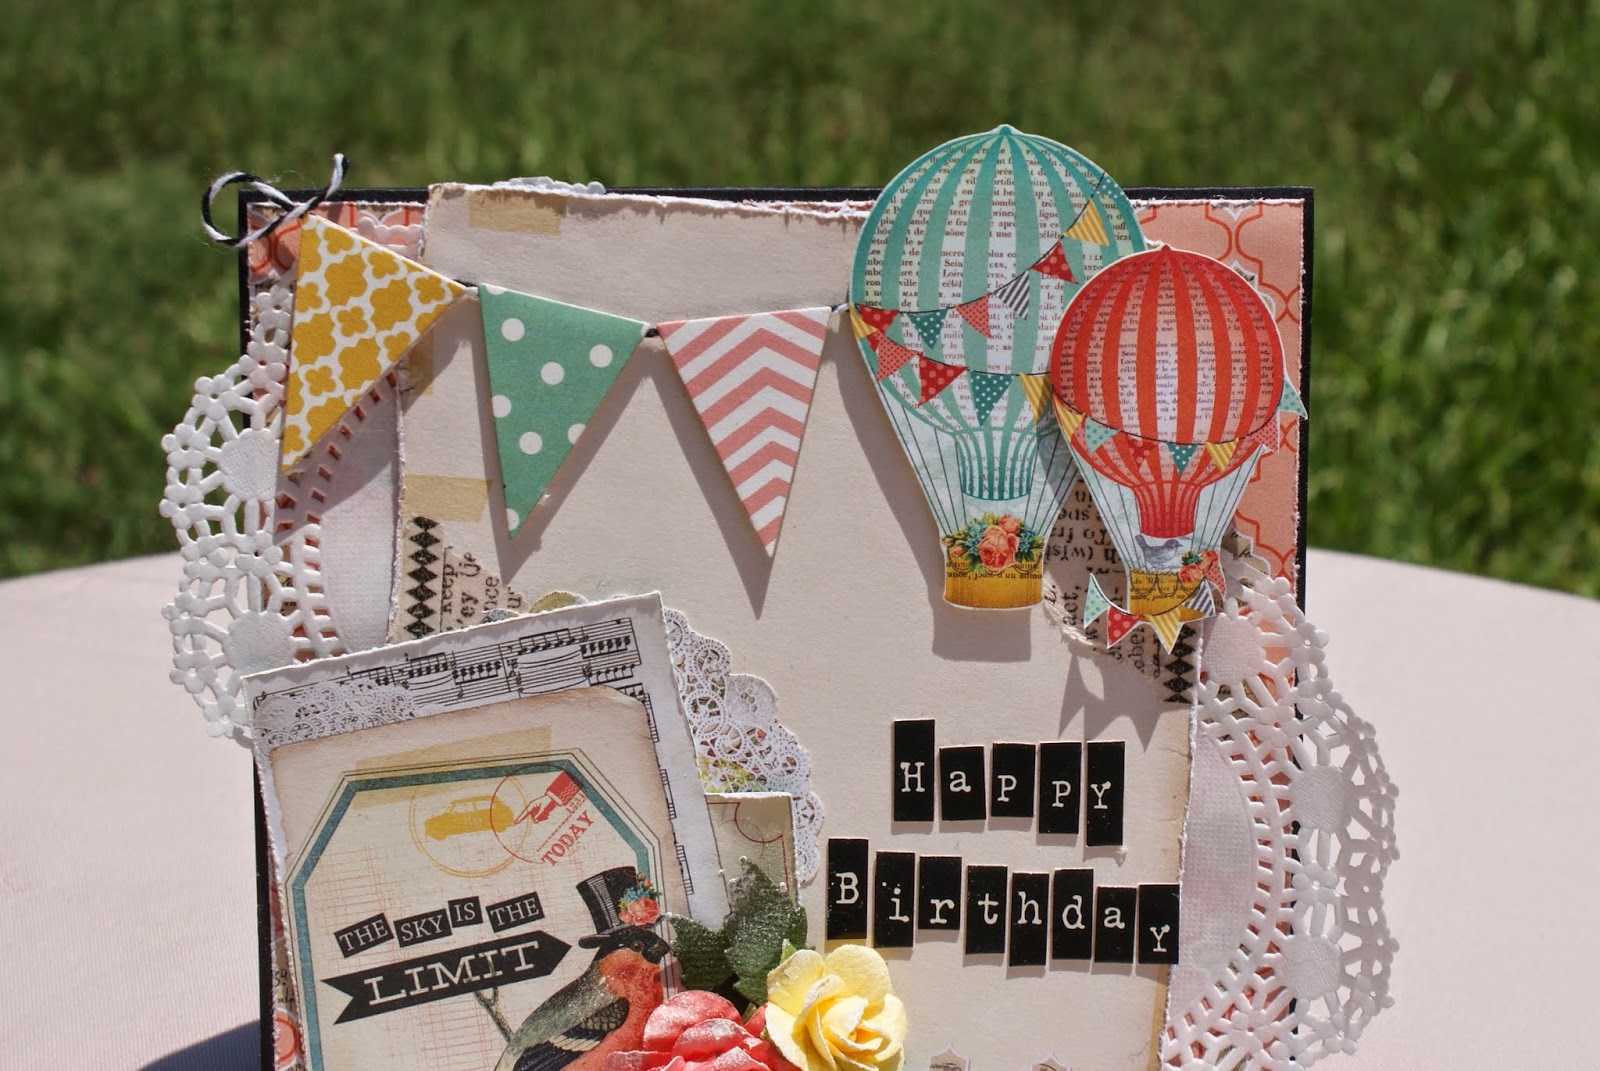
Isn't it cute! I used MME Sky's the Limit 6x6 paper pad and the colors and images were just perfect for the look I was going for. 


I love the hot air balloons and the fun colors. The little pennants were die cut from scraps using Spellbinders Banners die set. All of the paper edges were lightly distressed with Tim Holtz distress tool. I also cut a paper doily in half and tucked the piece in between layers of pattern paper. 


I fussy cut a few images from the paper pad and layered them on the bottom corner over the pieces of tissue tape I used in the background. The flowers were all from my stash and were lightly sponged with warm white acrylic paint. The little leaves were die cut from green card stock and tucked into the cluster. I used alpha stickers for the sentiment and I love how they coordinate with the words beside the little bird image.

This card was a lot of fun to make and my sister loved it! hope you like it too!

Thanks for stopping by. I'll see you all real soon!